Birthdays to anniversaries, next chapters to new additions – each milestone moment must come to an end. But what to do with all those greeting cards once they’re ready to come down from display? Because every beautifully illustrated design was chosen with care, we think they deserve to live on and be loved, rather than stashed away in a desk or drawer.
It’s time to get creative by upcycling your meaningful greeting cards into something fresh and fun. But if you’re feeling stuck for inspiration – don’t worry. Our in-house design team have rounded up their favorite ways to reuse and re-love our signature Papier greeting card designs. Just follow their simple tips below…
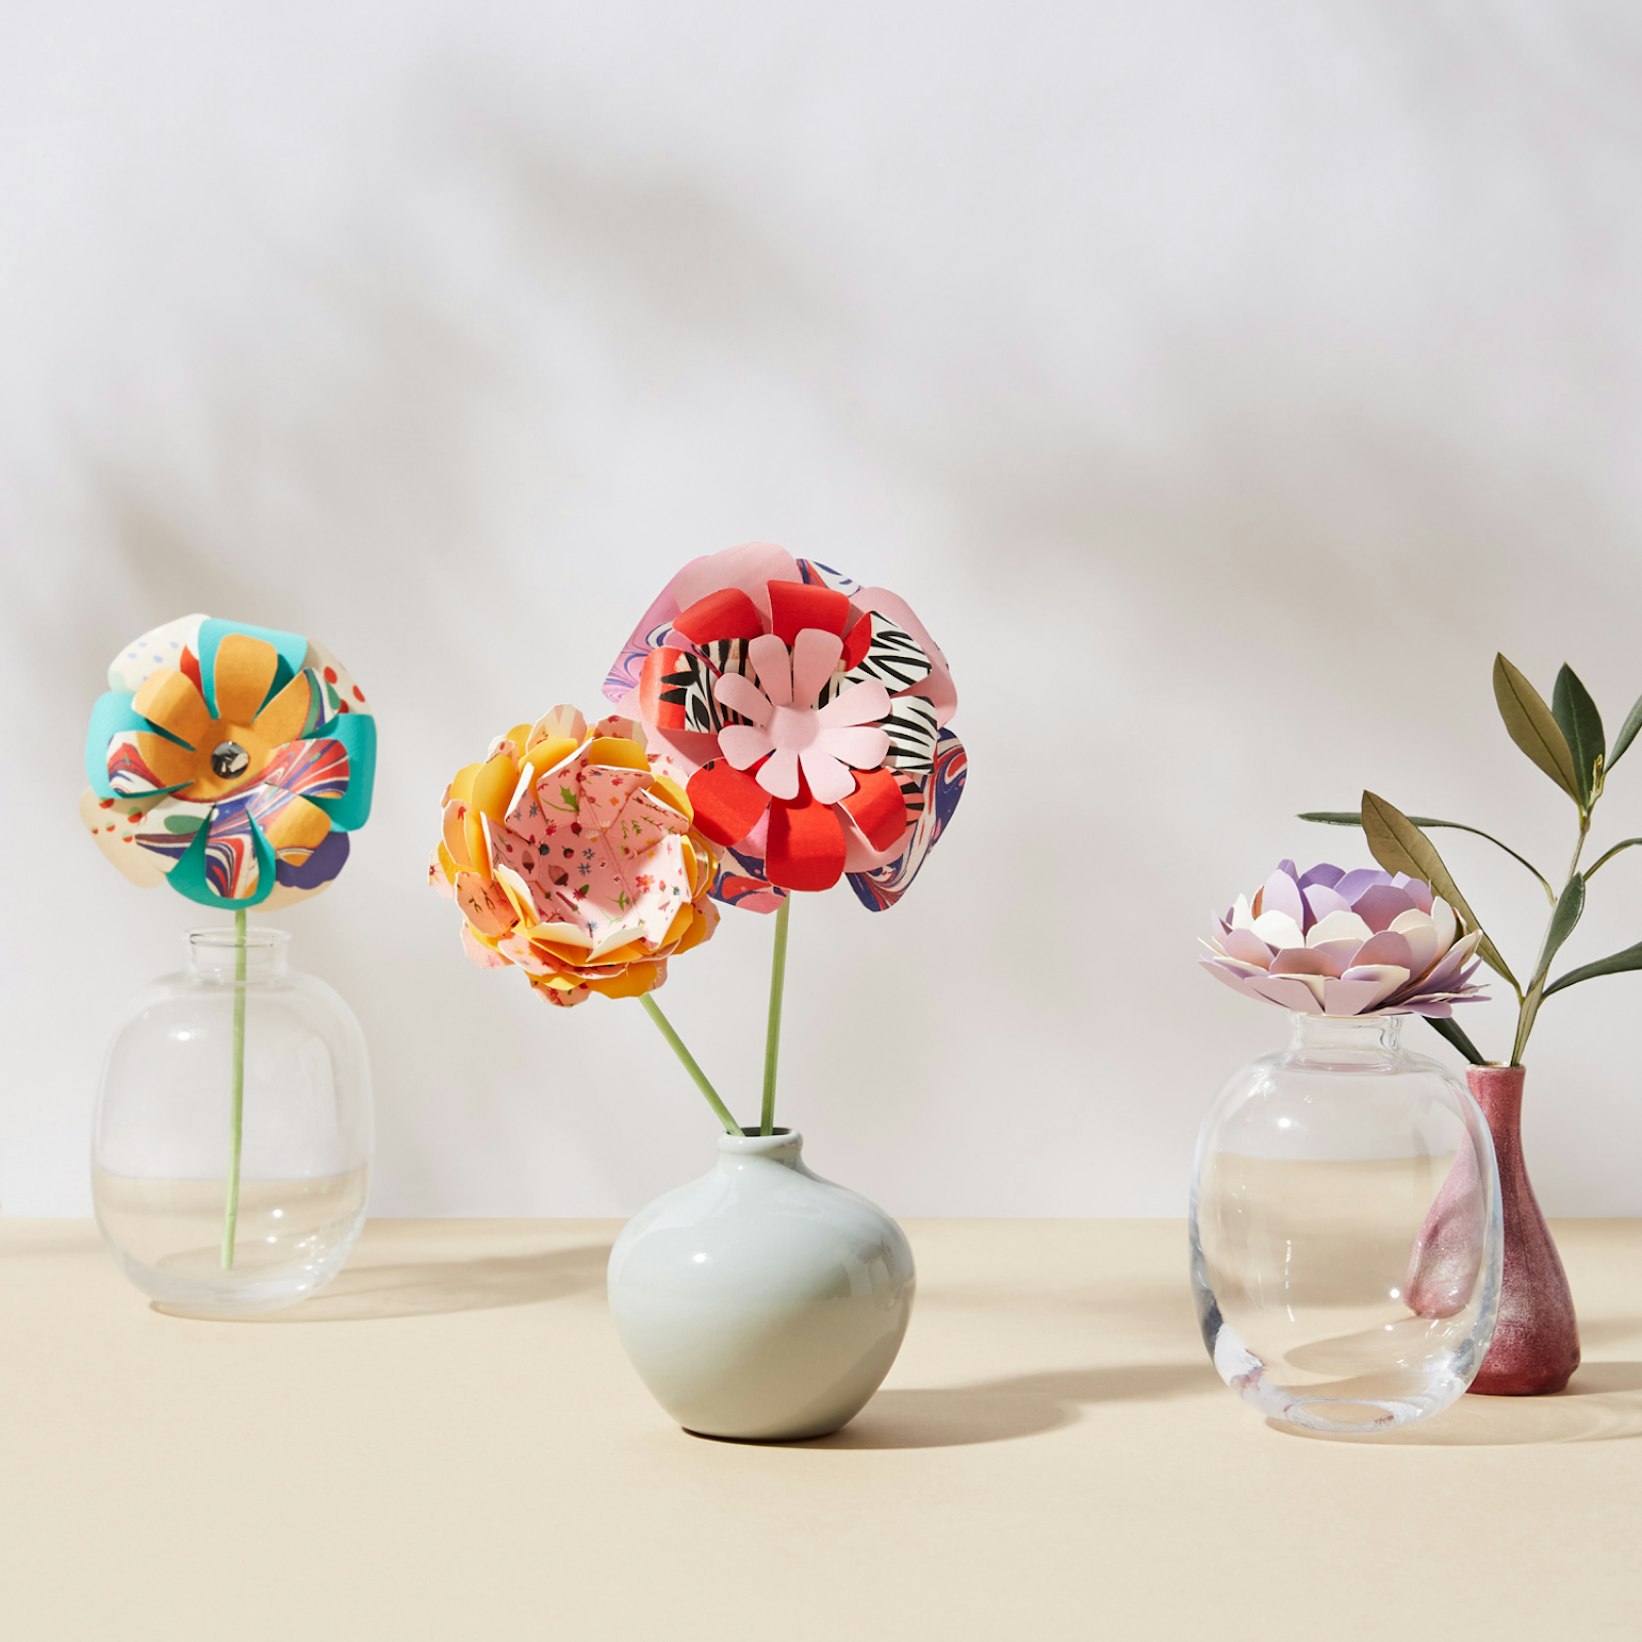
Greeting cards become… Papier flowers
Let joy bloom all year round with the beauty of a paper flower. Just the thing to brighten everyday desk moments, these papery plants are maintenance-free – no water is required. So until the sun shines, spend rainy days indoors with your scissors, glue and old greeting cards!

What you’ll need
Papier cards, colored paper, reed sticks, paint, glue and some glitter.
1. Choose your greeting card styles that’ll bloom into Papier flowers
Select a mix of your favorite greeting cards, and team them with colored paper that complements or clashes, depending on the look you’re going for. With so many botanical styles to choose from, we recommend your pick from our floral or nature-inspired designs – should you have any to hand. You’ll need 1-2 cards and a sheet of colored paper for each flower.
2. Sketch and snip your floral shapes
Draw an outline of a simple flower, repeat in decreasing sizes and cut them out. Once you’ve carefully cut out your shapes, bend the petals inwards at the base then use a pencil to curl them outward.
3. Create your flower form
Starting with the largest floral shape at the back, arrange one on top of one other in size order. Stick them together by glueing each one at the centre. Remember to let the glue dry fully each time before adding your next shape.
4. Add some sparkle with sequin details
Gently press a sequin into the middle of the final flower shape, or opt to leave it blank to let the card’s design shine.
5. Secure stems, then watch your Papier flowers flourish!
Paint diffuser reed sticks in shades of green and tape one to the back of each flower.
Greeting cards become… Papier boxes

Desk need a little Papier magic? Why not fashion your most-loved greeting cards into a bunch of miniature boxes? Decorative, practical and in designs that remind you of special moments and memories, they can be used for storing jewelry and any other trinkets you cherish or saved as handy little gift boxes for friends and family.
What you’ll need
Papier cards and glue. Plus, any little surprise gifts to pop inside.
1. Select a greeting card in your favourite illustrated style
Choose a greeting card and cut it in two, putting one half aside to become the bottom of your box.
2. Choose a focal design point for the top of your box
Draw out a square featuring the main part of the design you love, as this will be what features on the top of your box. Make sure your favourite part is in the centre and cut!
3. Finesse the fiddly bit to start building your box
Use a pencil to draw an X on the back of your card, carefully sketching from corner to corner. Next, fold one corner to meet the middle of the X, then fold the same corner up and over again – lining the folded edge up with the centre line – then unfold.
4. Perfect and repeat!
Repeat this step for your remaining 3 corners – making neat, crisp creases. Unfold them all again when you’re done. Then fold in your 2 opposing corners so they meet in the middle of the square. This’ll create 2 large triangular shapes, pointing toward the centre.
Hold the card so it’s in a diamond shape, with one point facing towards you and the other pointing away. Make 4 careful incisions along the crease lines that start on either side of the diamond point nearest to you and cut up to the edge of each large triangular shape. Turn the card the other way and repeat on the other end.
5. Fold and cut to form your boxes’ sides
Fold the two diamond points into the centre, then turn the two little cut flaps up and in, folding the flat side of the box over the top of the flaps. Tuck it inside the box and repeat for the other side.
6. Create the bottom of your box
To create the bottom of your box, cut the square 1/4 " smaller than the top so they fit together nicely, without being too snug. Repeat the above steps to create your boxes’ base – and there you have it!
Try time again to create little trinket boxes to gift your loved ones, or to keep as paper treats for yourself.
Greeting cards become… Papier wall art

When your greeting cards are pretty as a picture, all it takes is a frame to turn them into a piece of wall art. Try repurposing your favorite old greeting cards into little works of art for your bedroom, home office or hallway – anywhere that could do with a spark of Papier delight. Because home is where the art is, right?
What you’ll need
Papier cards, picture frames and mounts – colored, patterned or plain, whatever your style.
1. Choose your cards – then let’s make art
Collect a few of your favorite Papier card designs. Bold illustrations, pretty repeat patterns and quotes work well when brought together.
2. Select your frames and cut each card to size
Find a frame to suit and fit each design. Snip cards down to fill smaller frames, if need be.
3. Have fun with mounts to bring every artwork to life
Place a card inside your chosen frame and play around with colored or patterned mounts for a little added interest.
4. Layout a design, then dress your wall
Mix and match frame styles and sizes to curate a bespoke arrangement that suits your interior style.
Ready to get upcycling? You’ll need some greeting cards first.


